How to set up and
use your RFX
ETI App Setup
When you first open the ETI app, you’ll be prompted to create an ETI Cloud account. This gives you access to your live and saved data from the app or any browser.
Note: Your ETI Cloud login is separate from your Thermapen or ETI website accounts.
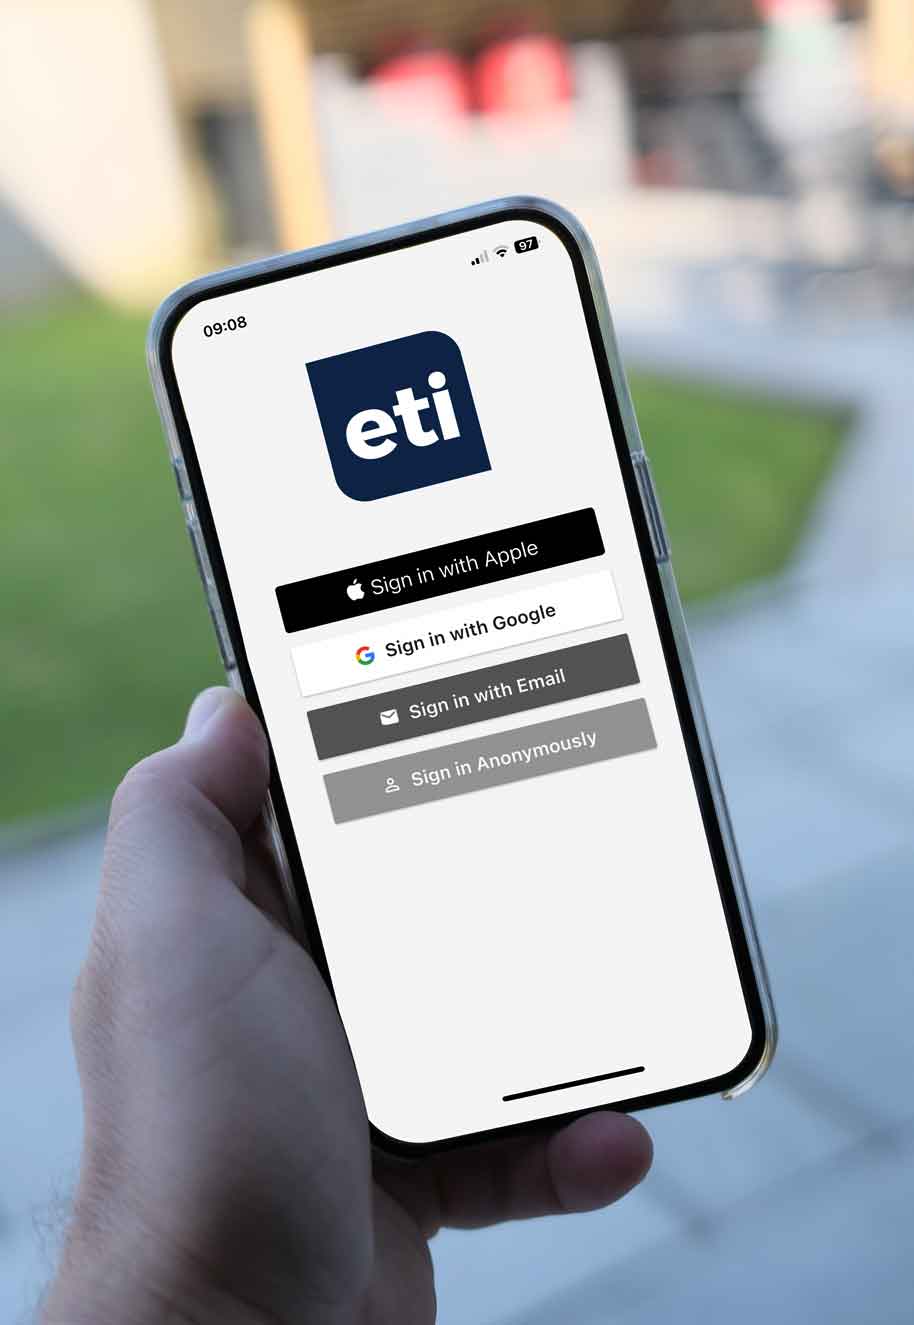
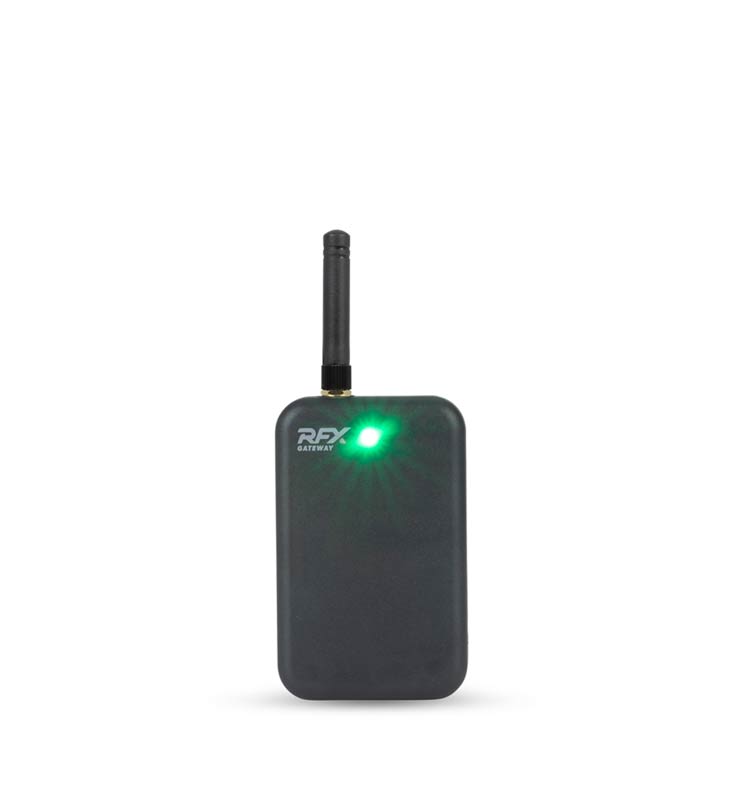
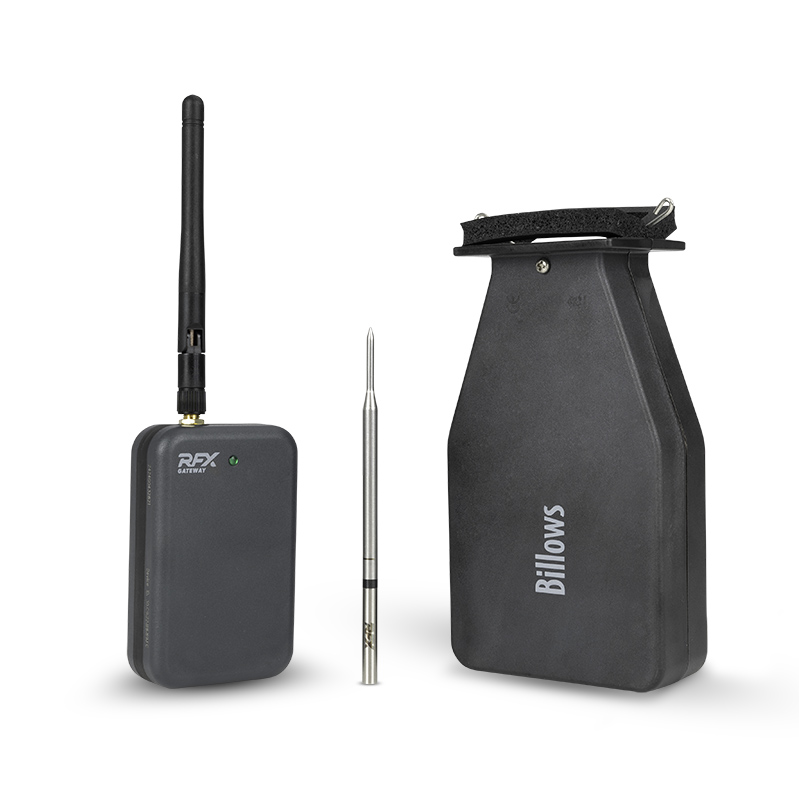
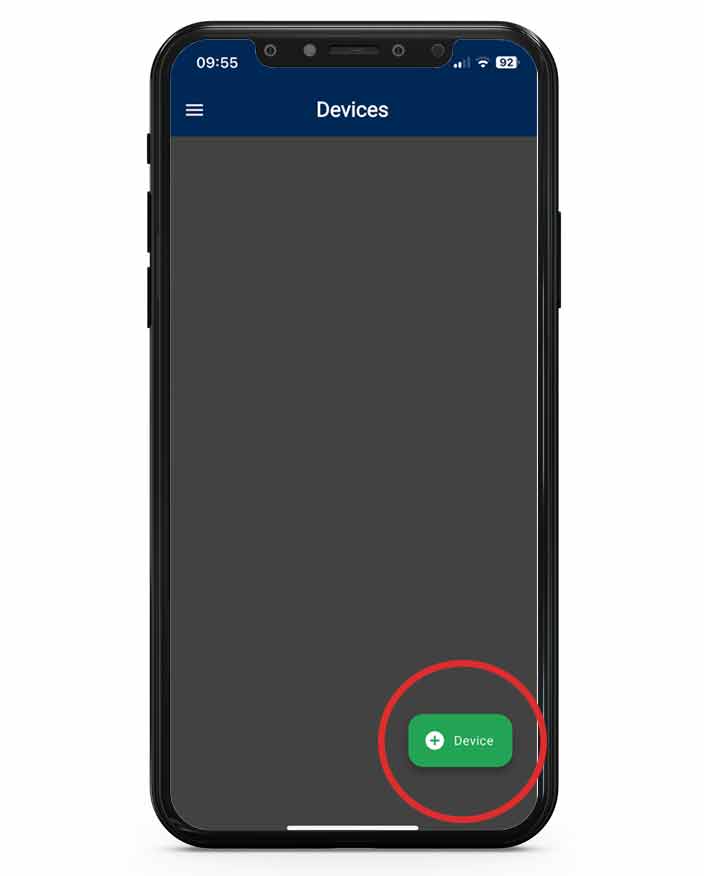
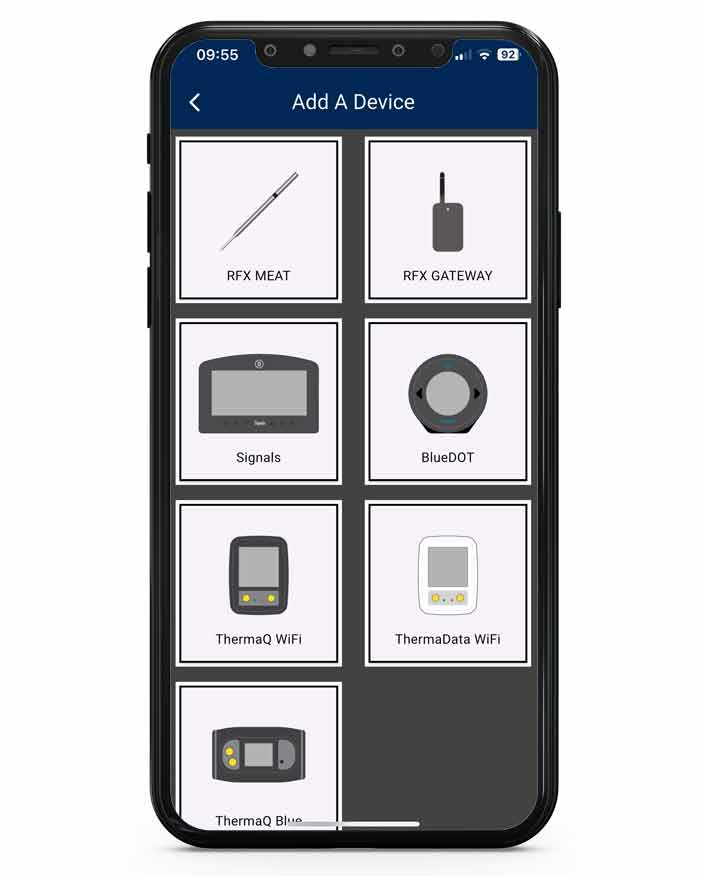
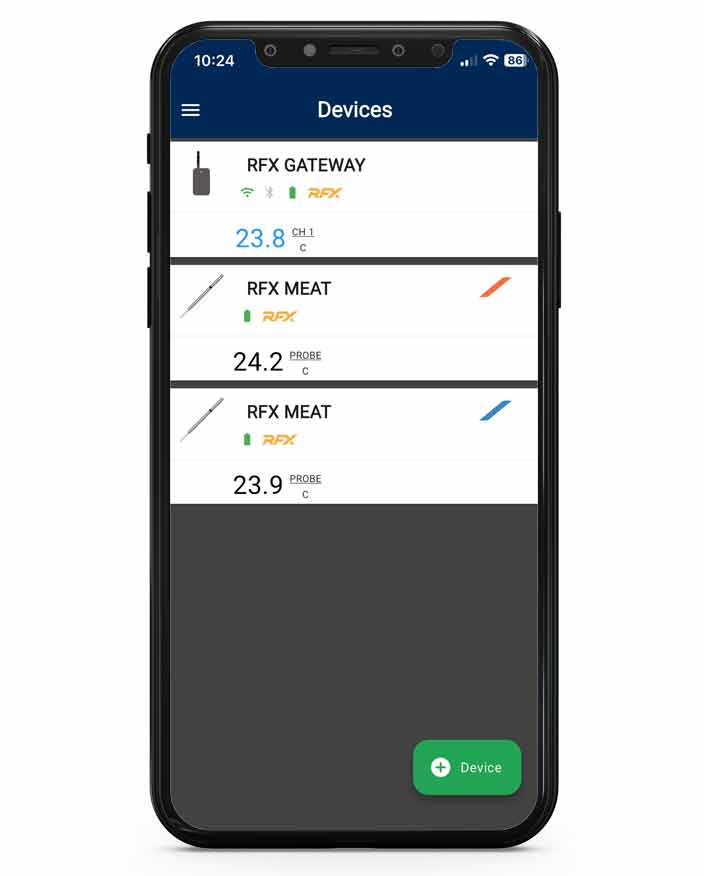
You can add devices like RFX, Signals, BlueDOT, ThermaQ WiFi, and ThermaQ Blue via the + Device button.
Change Your Settings
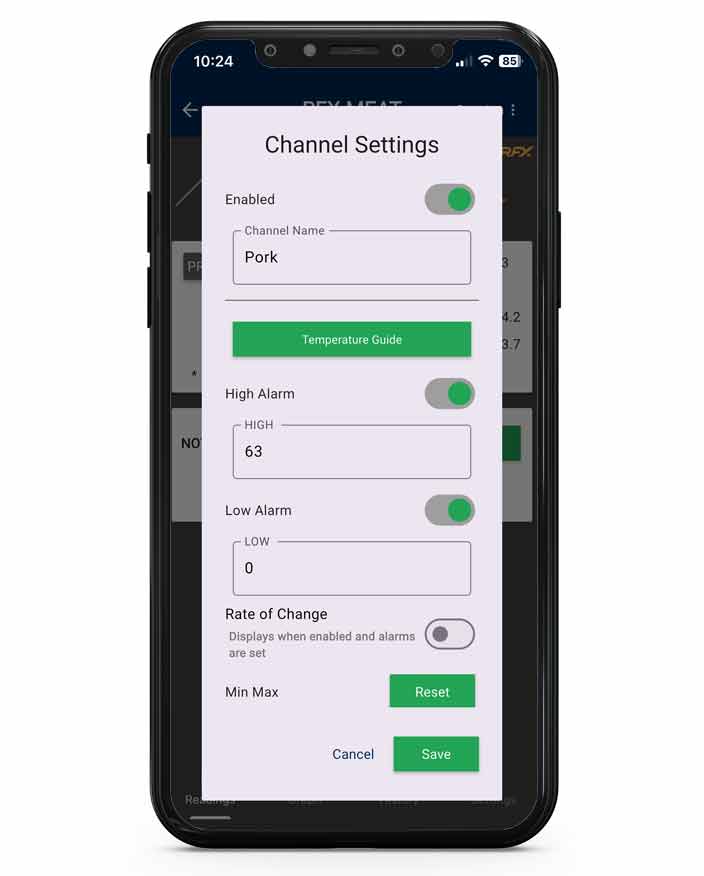
Tap on the device you want to adjust, then tap each channel to rename it and set high/low alarms.
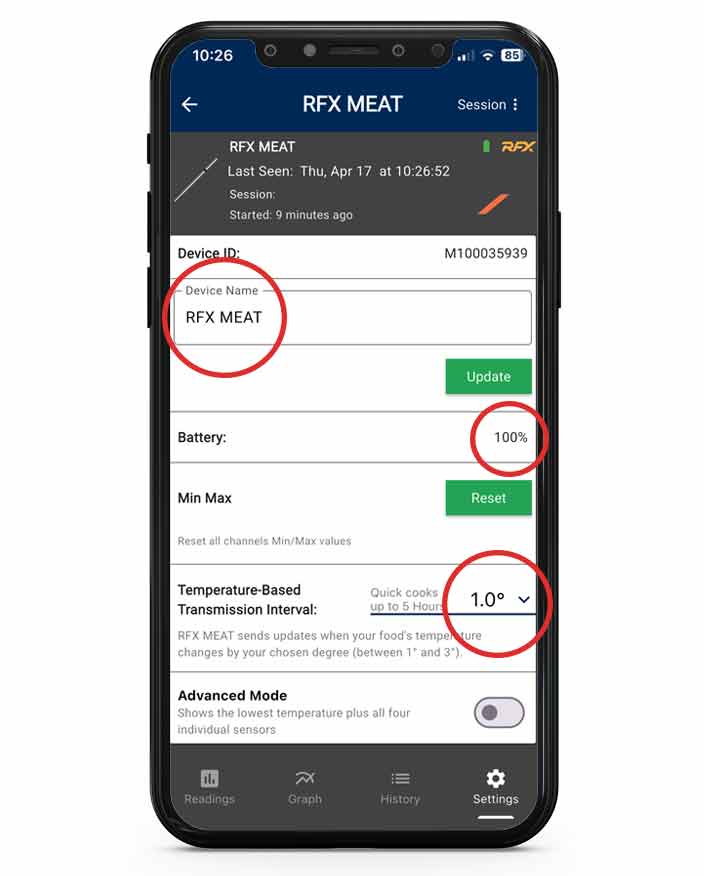
Tap on the device you want to adjust, then go to Settings (bottom right). Here you can:
• Rename your device
• Set transmission rate intervals
• Check battery status
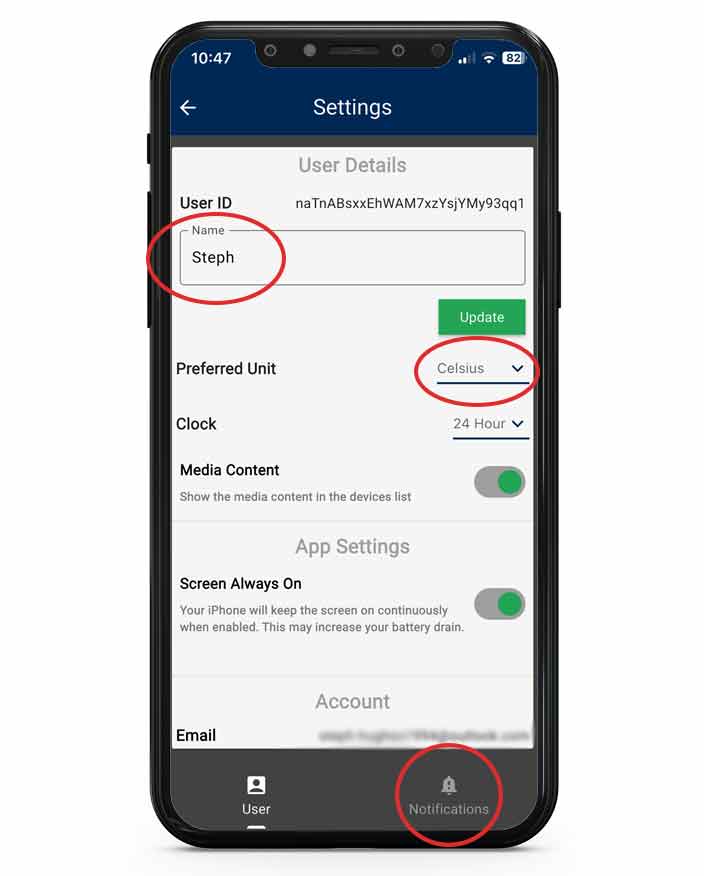
Tap the Menu (top left), then User Settings to update:
• Account name
• Units (°C/°F)
• Notification preferences
Sessions, Graphs & History
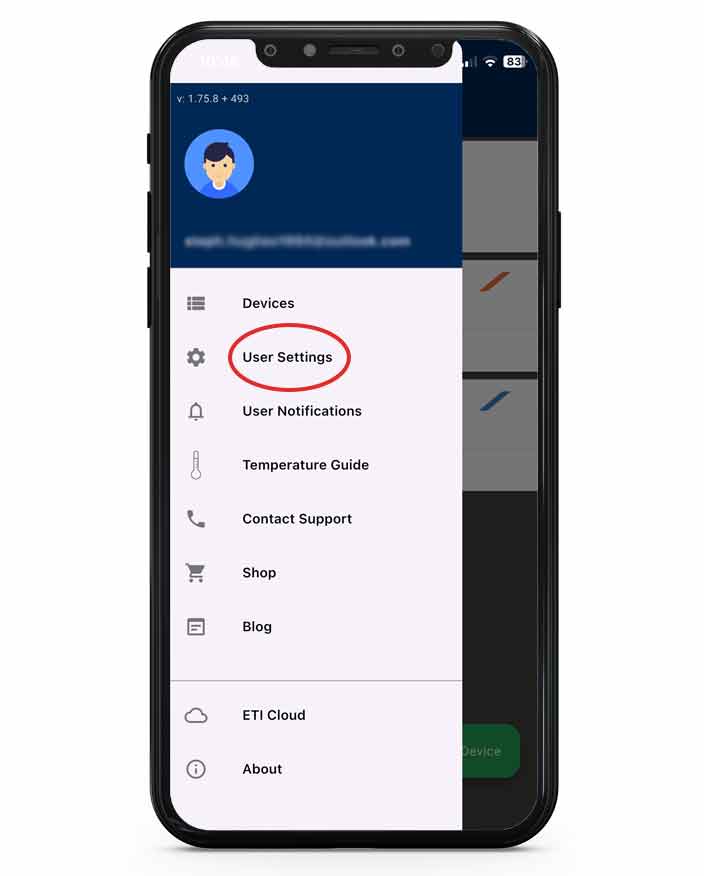
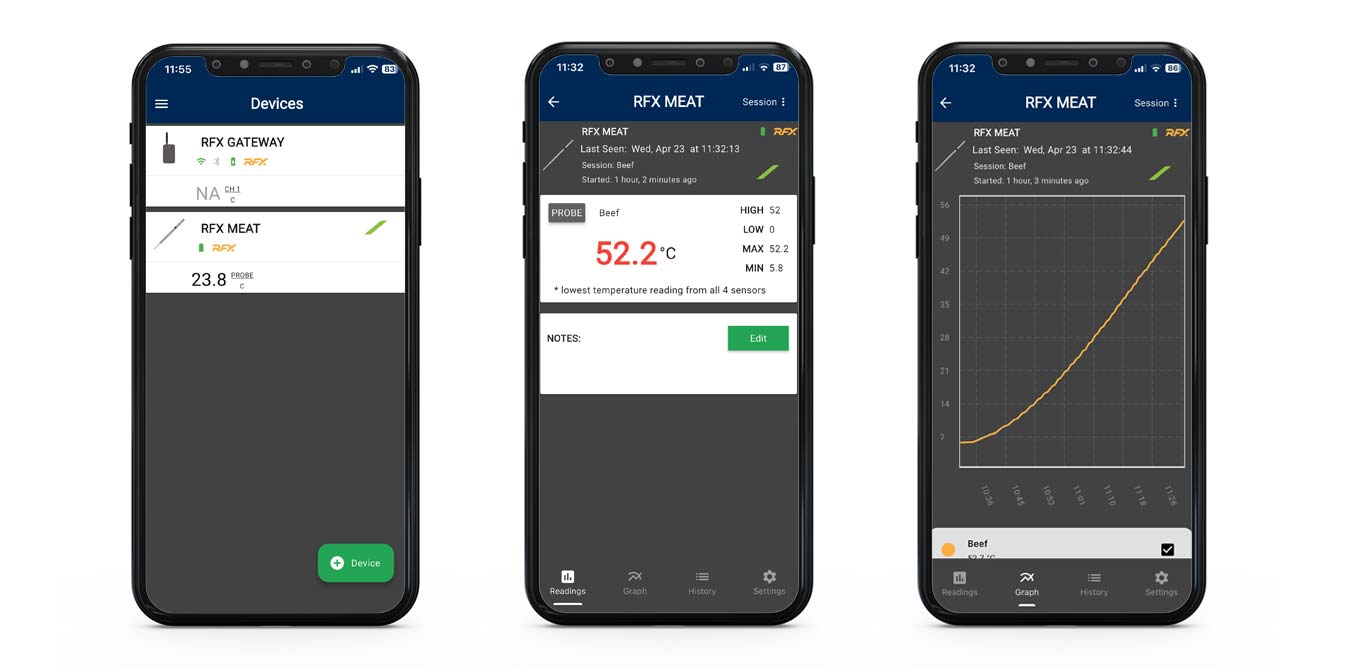
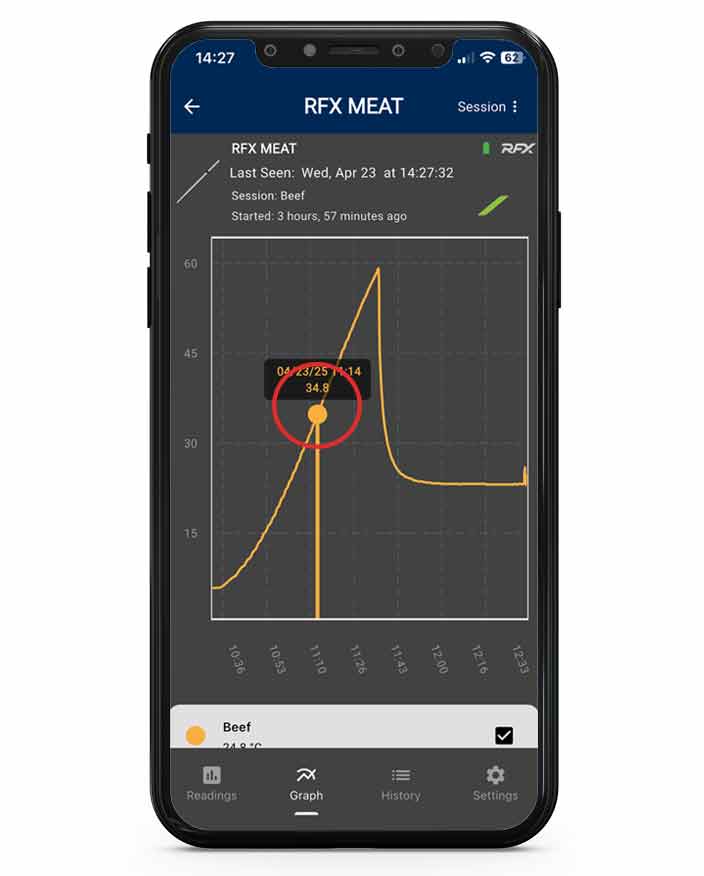
Tap Session to start a new session and graph at the beginning of your cook. Share it live or save it for later.
Tap the line on the graph to see your temperature progress. Press and hold anywhere to view details.
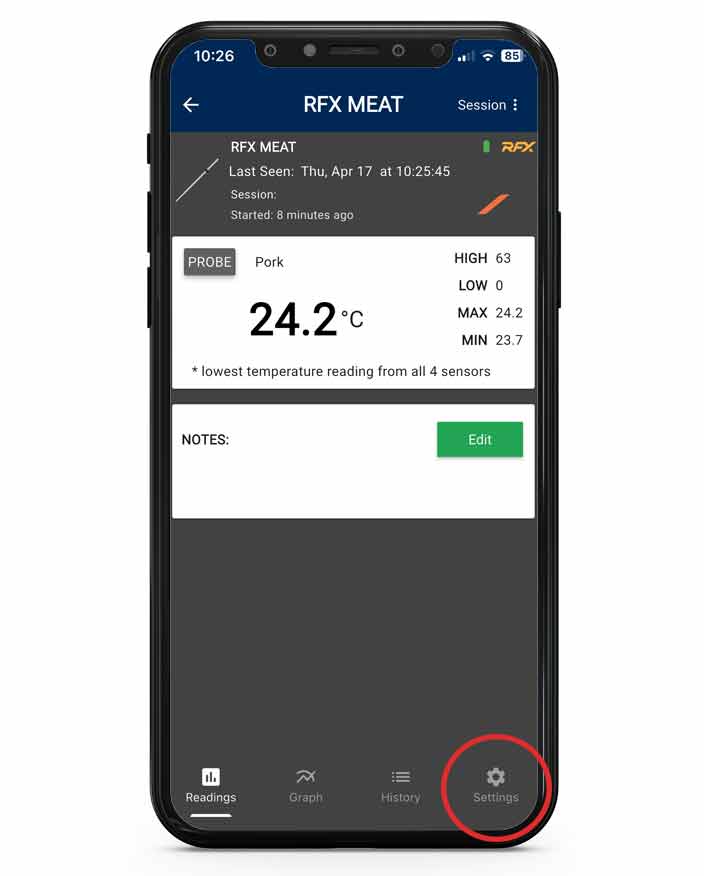
Tap History to view:
• Events: A log of all alerts and setting changes
• Sessions: A list of saved cooks
Access your account from the app’s Menu > ETI Cloud. Anonymous accounts won’t appear in the Cloud. More details on ETI cloud here.

RFX GATEWAY Setup
GATEWAY comes with a Pro-Series Air Probe for monitoring your pit temperature.
• Install or update to the latest version of the ETI app (Google Play Store or Apple App Store).
• Enable Bluetooth and location services on your smart device.
• Turn RFX GATEWAY on and place it next to your smart device.
• Make sure RFX GATEWAY is within range of your 2.4GHz Wi-Fi network. If you aren’t sure if you have a 2.4Ghz Wi-Fi network, contact your internet service provider.
• Have your 2.4GHz Wi-Fi network’s name and password on hand, including the correct letter case and punctuation. RFX GATEWAY will also operate on an open network.
Upon opening the app, you will be on the Device Dashboard. If you find yourself on any other page, you can select the Menu in the top left-hand corner and then choose Devices.
Click on the + Device button.
• Select RFX GATEWAY from the menu.
• After scanning, a list of any available RFX GATEWAY units will appear. If multiple RFX GATEWAY units appear, choose the RFX GATEWAY with the corresponding Device ID, found on the right-hand side of RFX GATEWAY by the USB port.
• When prompted, enter your Wi-Fi network name and password. The LED light on the gateway will show the status: blue means it's in setup mode, green means it's connected, and red means there's a connection error.
• Plug the air probe into your RFX GATEWAY.
• Attach the air probe to your grill grate using the clip provided.
• The air probe will immediately start sending readings to the ETI app via RFX GATEWAY. You can use the app to set high/low alerts.
rfx meat Setup
The RFX MEAT must be used with the RFX Gateway. It is not a standalone device.
Upon opening the app, you will be on the Device Dashboard. If you find yourself on any other page, you can select the Menu in the top left-hand corner and then choose Devices.
Click on the + Device button.
• Select RFX MEAT from the menu.
• Verify that your RFX GATEWAY is turned on and connected to Wi-Fi. The LED should be solid green.
• Remove the RFX MEAT from the charging block. Touch RFX MEAT to the RFX GATEWAY antenna to add it to your account. This process may take up to 2 minutes. You can add up to 50 probes to one gateway.
• The next page will allow you to change device settings. These settings can be changed at any time by selecting the device from your dashboard.
NOTE: If your RFX MEAT was not detected during the setup process, check your Device Dashboard—it may have been added automatically. This can happen if RFX MEAT was removed from the charging block too early in the setup process.
• Once paired, simply remove your RFX MEAT from its charging block to begin
• Insert the probe into your meat up to the immersion line
• When connected to Wi-Fi, readings will be sent to the app automatically
• Use the app to monitor up to 50 RFX MEAT probes, set alarms and transmission intervals
No Wi-Fi? Use Bluetooth and ‘Offline Mode’ for local monitoring (coming soon).
RFX GATEWAY and Billows
You’ll need to use the Pro-Series Air Probe, included with RFX GATEWAY, to use Billows.
• Plug the air probe and Billows into your gateway.
• Use the adapter included to connect your gateway to a power outlet.
• Attach Billows to your BBQ vent. Depending on the size of your vent, you may need to use a mounting plate.
• Fix the air probe to your BBQ grate using the clip provided.
Learn more about Billows.
• Use the ETI app to select your desired pit temperature, and Billows will get to work.
• You can check your pit temperature in the app.
• You can use the included Billows Damper to make micro-adjustments to your air intake for even greater control.