


Easy, tender BBQ pulled pork, loaded into buns with coleslaw and BBQ sauce.

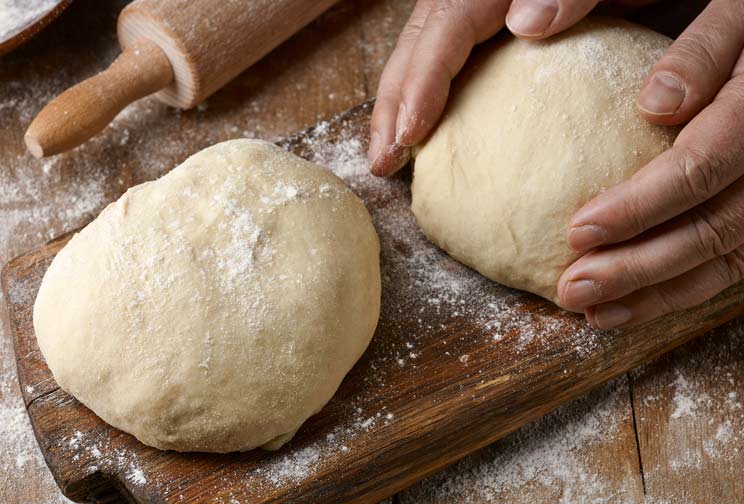
A Temperature Guide to Perfect Pizza Dough
One of the greatest reasons for using temperature to guide your cooking, whatever you're making, is consistency. Just like choosing a particular brand of ingredient because you like the taste better, working to specific temperatures will help you to achieve your preferred flavour and texture every time.
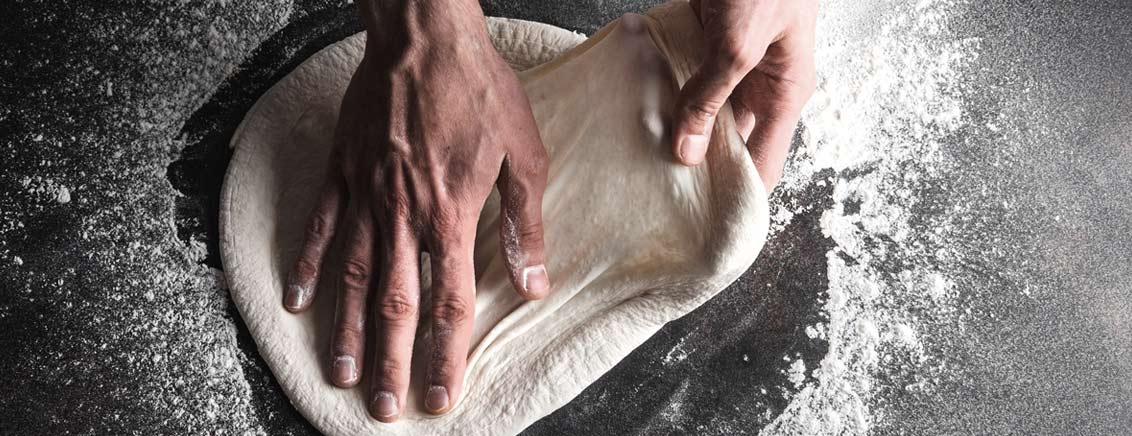
With all types of bread, including pizza bases, temperature is important because it impacts the fermentation process (also known as proofing, where the dough rises and develops flavour). Carrying out the fermentation process at the right temperatures for your pizza dough will ensure the flavour, chewiness and airiness of the final result are spot on.
How much attention and precision you give to the temperature of your dough depends on your room temperature and how much you value the quality and consistency of the dough. But all bread makers should be aware of the impact of temperature on their dough on some level.
Here we will explain how room temperature, hydration level, final dough temperature (FDT), and water temperature impact your pizza crust and provide temperatures to optimise your results. We'll also explore how long to proof pizza dough and what temperature pizza dough should be before rolling.
Factors to consider when making pizza dough
When making pizza dough, there are a few things you need to consider. You’ll need to decide what your target FDT will be, and to determine this you’ll need to know your room temperature and the hydration level of your dough. Once you know your FDT, you can calculate the optimum water temperature for your dough and how long the pizza dough should rest at room temperature.
Learn more about each one of these factors and why they’re important.
Room temperature:
Fermentation speed: room temperature affects the overall fermentation process of pizza dough. Warmer room temperatures will cause the dough to proof more quickly, while cooler temperatures will result in a slower rise.
Flavour profiles: a dough which is proofed hot and fast may be lighter and airier with a milder flavour, whereas a cold and slow proof can create a denser and chewier crust with a more complex flavour profile.
Consistent dough development: Monitoring and controlling your room temperature will ensure consistent and predictable dough development, helping you achieve the texture, flavour and rise you're aiming for.
Hydration level:
Workability: hydration level determines the water-to-flour ratio in the dough. Dough with a higher hydration is wetter and stretchier, while dough with a lower hydration is drier and firmer.
Crust texture: Once baked, high-hydration doughs tend to be more open and airy, while low-hydration doughs are denser and chewier.
Hydration and temperature: the higher the hydration, the faster the dough will develop, so it can be helpful to proof higher hydration doughs at lower temperatures and vice versa.
Final dough temperature (FDT):
Fermentation control: FDT is the temperature of the dough after mixing and just before proofing. It plays a crucial role in controlling the fermentation process, which impacts flavour, texture, and rise.
Impact on flavour: achieving the right FDT ensures proper yeast activity, enzymatic reactions, and gas production during fermentation. It contributes to consistent dough characteristics and the desired crust quality.
Water temperature:
Affects dough temperature: water temperature is the easiest factor to manipulate in order to achieve your desired FDT.
Precise results: adjusting water temperature compensates for factors like room temperature, friction generated during mixing, and ingredient temperatures. It ensures precise control over dough fermentation and development.
Consistent quality: maintaining the right water temperature promotes consistent dough behaviour, leading to reliable results and repeatable crust quality.
Proofing time:
Flavour development: adequate proofing time allows yeast to interact with dough, developing complex flavours and enhancing the overall taste profile of the crust.
Dough structure: proper proofing time enables gluten to develop, contributing to a balanced texture, lightness, and desired chewiness in the final crust.
Prevents errors: under or over-proofing your dough will spoil the result of your final crust. Try the poke test (explained below) to make sure you have proofed your dough for long enough.
How to calculate your water temperature and proofing time
We’ve created a table to help you choose the optimum water temperature and proofing time for your pizza dough. But first, here’s how to use it:
1. Air temperature: measure your air temperature close to where your dough will be proofing. You can use a Thermapen thermometer to do this, simply wave it through the air and wait for it to stabilise.
2. Hydration: determine the hydration level of your dough. Hydration (%) = (Water weight / Flour weight) * 100. For example, if you used 400 grams of water and 600 grams of flour: Hydration (%) = (400 / 600) * 100 = 66.67%.
3. FDT: use the results from these two columns to find your FDT.
4. Water temperature: once you have your FDT, the next row along will tell you the temperature your water should be before combining with your dry ingredients. Check the water with your Thermapen to make sure it’s within range.
5. Proofing time: the final column will tell you how long to proof your dough once mixed.

TIPS:
After mixing all of your ingredients, probe the centre of the dough with your Thermapen to see if it matches with your target FDT. Results can vary slightly, so it’s a good idea to note down your temperatures each time you make your dough to see what works best for you. Our pizza temperature chart is a rough guide for beginners, but by monitoring your results, you may find that you develop your own guidelines that you enjoy working to.
To make sure your dough has been proofed for the correct length of time, poke the dough in a few places with your finger. If the dough springs back quickly, it needs more time. If it springs back slowly, it's perfectly proofed. If it doesn't spring back at all, it's over-proofed.
The takeaway
There are a number of different factors to consider when attempting to improve the flavour, texture and quality of your pizza dough. This might seem overwhelming, but using our pizza dough temperature guide as a starting point will enable you to understand how all of these factors work together to produce different results. From here, you can experiment with your temperatures to gain a deeper understanding of how they work and create your own guidelines that work for you.
As always, monitoring temperatures will provide greater control over the quality and consistency of your results, particularly when delving into the scientific depths of a hobby like bread making.
Related posts
 5 Best Cooking Christmas Gifts 2025
Kitchen thermometers make great gifts for cooking lovers. They'll be able to make delicious creations with less...
Read more
Christmas Tree Pavlova
This fresh and fruity Christmas tree pavlova recipe is the perfect centrepiece for your festive celebrations. It’s...
Read more
How Long to Rest a Turkey
To find out the scientific secrets behind cooking the perfect turkey, we carried out the ultimate temperature...
Read more
The Ultimate Turkey Cooking Guide
Cooking a turkey can send fear rippling through the hearts of even the best home cooks. Will it defrost in time? Do I...
Read more
Swedish Cinnamon Buns
A delicious snack, comforting dessert or incredible breakfast – they are a truly versatile and worthwhile bake....
Read more
Search
Categories
- Baking (35)
- BBQ (85)
- Autumn (14)
- Cheap Eats (9)
- Sweet Treats (38)
- Tips, Advice & Info (78)
- Christmas (36)
- Drinks (2)
- Thermapen Father's Day Recipes (18)
- Team Temperature (28)
- Date Night (37)
- Celebrations (20)
- Family & Kids (10)
- Fish (21)
- Low & Slow (13)
- Meat (142) click
-
Chefs (132)
click
- Kenny Tutt (16)
- Richard Holden (16)
- Barbechoo (7)
- Only Slaggin (1)
- SoSaSe Chocolat (1)
- Genevieve Taylor (5)
- Becky Excell (2)
- Charlotte Stirling-Reed (3)
- The Smokin Elk (13)
- Marcus Bawdon (2)
- Thermapen Chef (25)
- Edd Kimber (2)
- Humble Plates (7)
- Simon May (4)
- The Hedgecombers (3)
- Billy & Jack (4)
- Perfectly Preserved (3)
- Mike Tomkins (20)
- DJ BBQ (2)
- Nick Nairn (4)
- BBQ Jake (1)
- Air Fryer (9)
- RFX (6)
- Featured (3)
Latest recipes

BBQ Pulled Pork Buns with Slaw
Read more

Chicken Shawarma With Yoghurt Marinade
Read more
Rotisserie-cooked chicken shawarma, coated in a punchy yoghurt marinade. Pile into flatbreads with salad

How to Cook Ribeye Steak
Read more
Ribeye is an amazing, flavour-packed cut of beef. Learn how to cook ribeye steak medium rare using the reverse sear...

The Smokin’ Elk on RFX: “Reliability is the Number One Thing For Me”
Read more
Elky Whittaker, aka The Smokin’ Elk, began barbecuing as a hobby 10 years ago. Today, he has 262k Instagram followers...

BBQ Chicken Shawarma
Read more
Juicy BBQ chicken shawarma recipe with homemade flatbreads and garlic sauce.
Archive
Popular Recipes
BBQ Pulled Pork Buns with Slaw
Easy, tender BBQ pulled pork, loaded into buns with coleslaw and BBQ sauce.
Read more
Chicken Shawarma With Yoghurt Marinade
Rotisserie-cooked chicken shawarma, coated in a punchy yoghurt marinade. Pile into flatbreads with salad
Read more
How to Cook Ribeye Steak
Ribeye is an amazing, flavour-packed cut of beef. Learn how to cook ribeye steak medium rare using the reverse sear...
Read more
The Smokin’ Elk on RFX: “Reliability is the Number One Thing For Me”
Elky Whittaker, aka The Smokin’ Elk, began barbecuing as a hobby 10 years ago. Today, he has 262k Instagram followers...
Read more
BBQ Chicken Shawarma
Juicy BBQ chicken shawarma recipe with homemade flatbreads and garlic sauce.
Read more